STEREO GLITCH
Experimental game written in Rust with wgpu compiled to WASM.
Move with WASD and grab with Space. On mobile use the left and right joystick.
In order to see the 3D area you need to look at the screen cross-eyed.
You can write your own levels here. In order to load your level you have to press the Load button. When successfully loaded your level file will be compressed and added to your URL. If you share this URL you can share the level you created with your friends.
The level file is simply a text file describing the level map as seen from above.
For stacking blocks on top of each other you can use the + character. For example N+P will create a stack of a normal floor tile with a player on top of it.
In order to stack the same block multiple times you can use the x character. For example Nx3 will create a stack of 3 normal floor tiles.
Creating a glitch area is done by prepending the _ character to a stack. For example _N+P will create a glitch area with a normal floor tile and a player on top of it.
Every block can be assigned an id by appending the # character followed by an alphanumeric string. These ids can then be referenced by doors by using parentheses. For example T#1 will create a trigger with the id 1. Using that D(#1) will create a door that opens when the trigger with the id 1 is activated.
There are several restrictions on the level file:
- There must only be one player
- Every id must be unique
- The level file can not exceed 256 in x, y and z direction
Game Object Overview
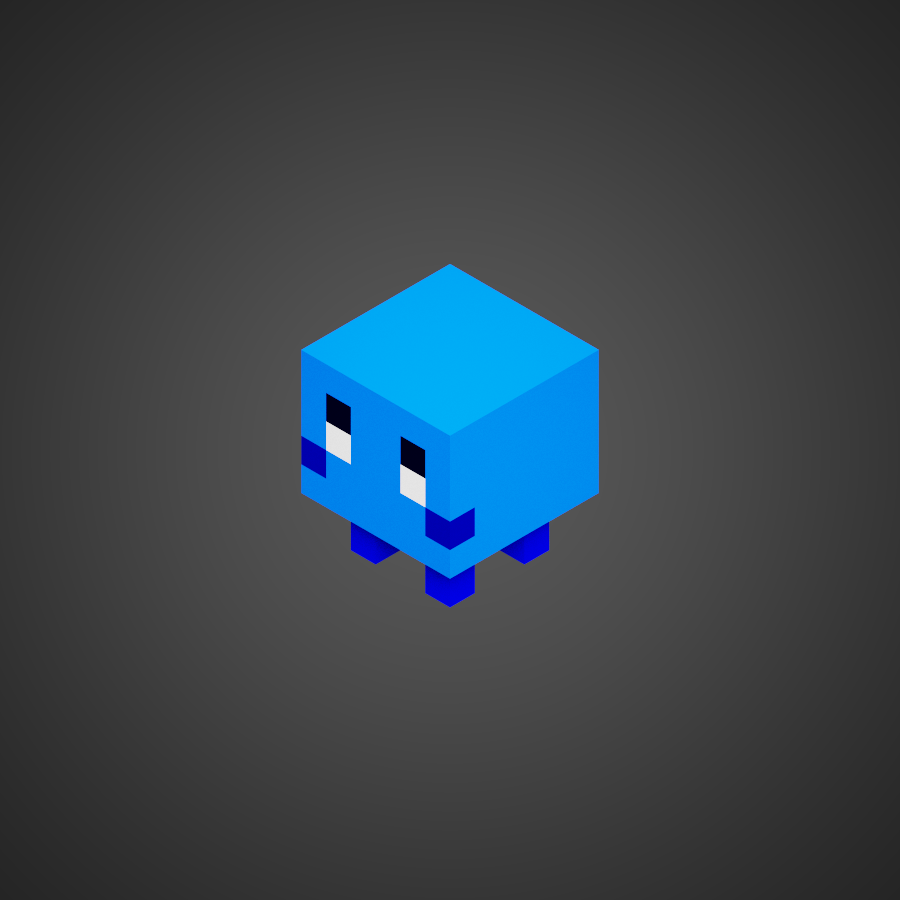
The player can be controlled by the user and can interact with other objects.
There can only be one player in a level.

A box is a simple object that can be pushed around.It can be pushed by the player, enemies and other boxes.
There are four types of boxes: A BX is a box that can only move in the x direction, while a BY is a box that can only move in the y direction. A BRF is a box that can move in all directions freely but can not rotate and finally BF is a box that can move in all directions freely and can rotate.

A trigger is an object that can be activated by placing some other object on top of it. It can be used to open doors.

A Door can be opened and closed using Triggers.

A Charge Area spawns charge particles that can be used to replenish the players charge. The more charge you have the more damage you can take. Also charge is needed to make the 3D area visible.

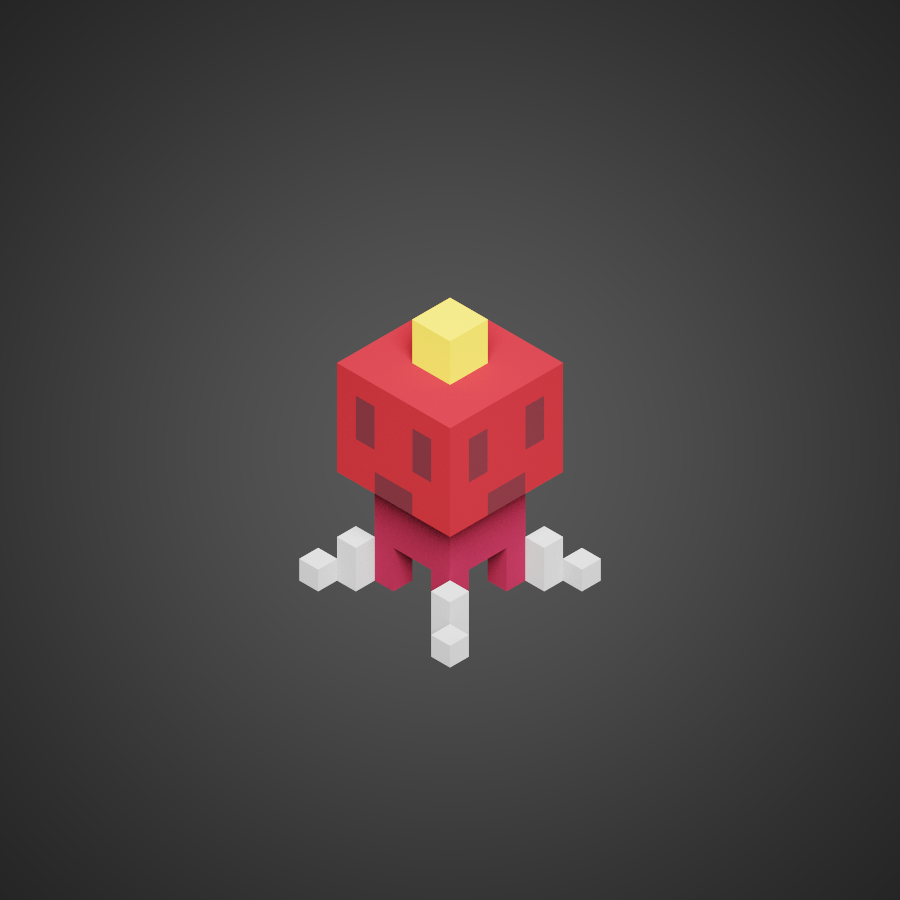
An enemy that moves in a straight line. If the player collides with the enemy the player will take damage.
There are two types of linear enemies: A E2X is an enemy that moves in the x direction, while a E2Y is an enemy that moves in the y direction.
An enemy that does not move. If the player collides with the enemy the player will take damage.

A normal floor tile. The player can walk on it.

A normal wall tile.

The goal is the end of the level. If the player reaches the goal the level is completed.
Source Code
(dirty) source code is available on GitHub.
Credits
Many thanks to Takeryo for input on the design and early feedback!
Also many thanks to sothr from Learn Wgpu for the great tutorial!
For physics I used the awesome rapier crate. The editor uses codemirror under the hood. After going crazy trying to learn Blender for voxel art I was very happy to find MagicaVoxel. Packaging and everything is done with parcel which worked out of the box like a charm.
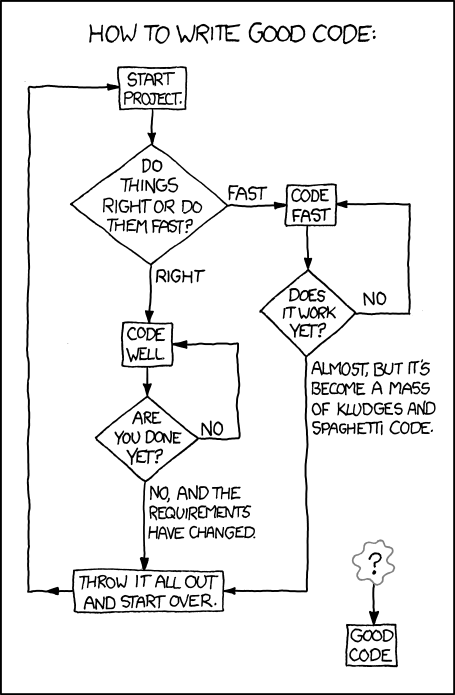
Dear (future) self: Things learnt from the project
The goal of this project was to get a better understanding of Rust, WGPU and WASM. This was (mostly) achieved and I am happy with the result. However I am not satisfied with the overall code quality and the way the project was managed. Here are some things I learnt during the project:
Things that went well
Setting up automatic deployment early on and targeting the web made the whole development experience way more enjoyable than the last time where I tried to target Steam.
Also I was absolutely astonished how easy it is to simply use rust crates on WASM and then how games just work in the browser without any additional work. Need an ECS system? Just use bevy_ecs! Need a physics engine? Just import rapier3d! This is really amazing! I still remember when I tried to get C++ to cross compile to different platforms and it was a nightmare - especially the graphics part. What a time to be alive!
Things to improve
Leaving things dirty and moving fast while thinking "I will clean this up later" does not realistically work. Maybe setup clippy early on in the project to be forced to clean up the codebase or cleanly separate prototyping and actual development (and not use the prototype codebase as base for an actual project). Overall things I would like to improve in the future:
- Overall code quality
- Use more idiomatic Rust
- Use more idiomatic JS/TS
- Better linting / Better editor
- Refactor the bind groups in WGPU to only use 4
From a performance perspective the current implementation is also quite unsatisfying. For example the whole state is rendered every frame regardless of how far away it is from the camera. Doing some frustum culling and selective updating would probably increase performance (especially on mobile). Also particles are implemented as entities which seems like a bad idea.
Also doing the last 10% of polishing would really take a lot more time. The boxes sometimes get stuck in the ground and there are some weird other bugs too. Also the level editor is quite bare bones and could use some more love.
Regardless from the programming part, picking a game project for learning libraries turned out the be not that easy. Especially when you start to get all perfectionist about game design and art. This got me stuck for longer than I would like to admit. What helped me this time was to search for similar games and to talk with ChatGPT to get some ideas to make it at least passable. However for an actual game the game mechanics, player controller and level design would need a lot improvement. For this project the focus was to learn Rust, WGPU and WASM I decided to draw the line here.
Overall
So many things left to do! But also a fun practice project. I am looking forward to the next one!
Feedback Form
There are probably many more things that could be improved. If you have any feedback feel free to use the form below.